DIY Body Sculpting Cream Results: What Really Happens When You Combine Natural Ingredients with the Right Techniques
Key Takeaways: What You Need to Know Before Making Your First DIY Body Sculpting Cream
- DIY body sculpting creams work best when combined with consistent massage techniques that stimulate lymphatic drainage and blood circulation — the cream alone won’t cut it.
- Ingredients like caffeine, ginger, and grapefruit essential oil have documented skin-tightening and circulation-boosting properties that make them the gold standard for homemade sculpting blends.
- Pairing your DIY cream routine with targeted strength training and HIIT workouts dramatically accelerates visible results — there’s a specific combination covered below that works faster than most people expect.
- Results from DIY body sculpting creams typically become noticeable within 4 to 6 weeks of consistent daily use, but the timeline depends heavily on technique, ingredients, and lifestyle habits.
- Certain common DIY ingredients can cause skin irritation or interfere with results — knowing what to avoid is just as important as knowing what to include.
DIY Body Sculpting Creams Actually Work — Here’s What You Need to Know
Most people dismiss DIY body sculpting creams as wishful thinking, but the science behind the right natural ingredients tells a different story. When formulated correctly and applied with the right technique, these creams can visibly improve skin tone, reduce the appearance of cellulite, and support the fat-reduction process already happening in your body. They are not magic — but they are far more effective than most people realize.
The key distinction is that DIY body sculpting creams work with your body’s natural systems, particularly circulation and lymphatic drainage, rather than claiming to melt fat on their own. Practical Weight Loss is a great resource for understanding how natural approaches like these can be layered with other healthy habits to get real, lasting results.
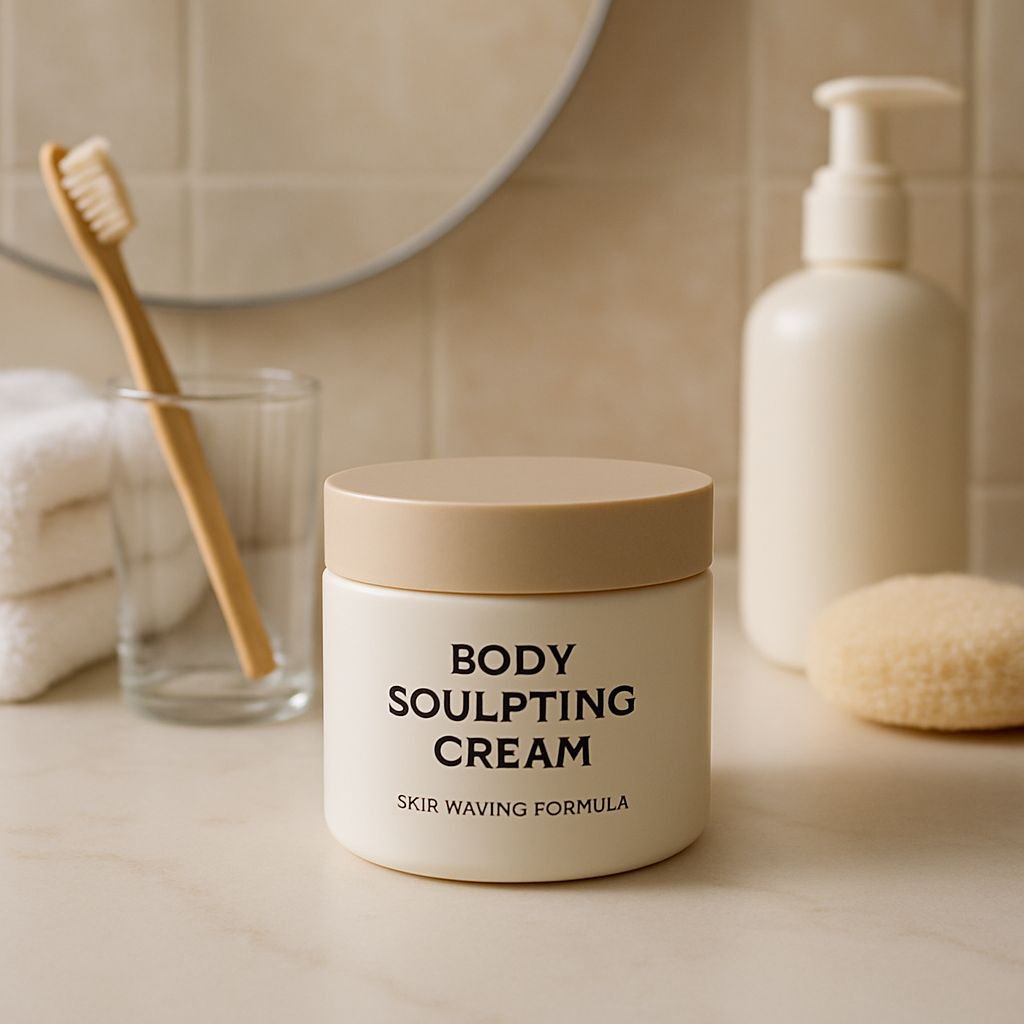
What DIY Body Sculpting Creams Can Realistically Do
Let’s set realistic expectations right away. A well-made DIY sculpting cream can:
- Temporarily tighten and firm the skin surface through ingredients like caffeine and clay
- Improve microcirculation in targeted areas, helping the body move stagnant fluid
- Reduce the appearance of cellulite by plumping and smoothing the skin’s outer layers
- Support your body’s natural detoxification process when paired with massage
- Hydrate and condition skin so results from exercise and diet become more visible
What they cannot do is eliminate fat cells on their own. That process requires a caloric deficit, exercise, and time. But when a sculpting cream is part of a broader routine, it becomes a powerful supporting tool.
Why Combining Cream with Exercise Changes Everything
Here’s where things get genuinely interesting. Applying a caffeine-based sculpting cream before exercise, for example, has been shown to enhance localized circulation right at the moment your body is already mobilizing fat stores. The combination creates a compounding effect that neither the cream nor the exercise achieves alone. This is why so many people who try sculpting creams in isolation feel underwhelmed, while those who build a full routine around them see noticeable changes within weeks.

The Science Behind DIY Body Sculpting Creams
Understanding the basic biology behind these creams makes it much easier to formulate them effectively and use them correctly. The skin is not an impermeable barrier — it absorbs certain compounds readily, especially those with small molecular structures or lipid-soluble properties.
Fat deposits beneath the skin, particularly subcutaneous fat, are influenced by local blood flow. Poor circulation means fat metabolism in that area is sluggish. Ingredients that boost localized circulation — caffeine, ginger, capsaicin — essentially wake up the tissue, increasing the rate at which the body can access and process those fat stores. Combined with massage, this effect is amplified significantly.
How Active Ingredients Penetrate the Skin
Skin absorption depends on molecular size, fat solubility, and the carrier ingredients used. Caffeine, for instance, has a relatively small molecular weight and is lipid-soluble, which allows it to penetrate the skin’s outer layers efficiently. Carrier oils like coconut oil and sweet almond oil enhance this process by acting as natural delivery vehicles, helping active compounds reach the dermal layers where they can influence circulation and tissue hydration. This is why the base of your DIY cream matters just as much as the active ingredients.
Key Ingredients That Actually Deliver Results
Not all natural ingredients are created equal when it comes to body sculpting. The following have the strongest evidence behind them:
- Caffeine — Stimulates lipolysis (fat breakdown) locally, tightens skin, and reduces fluid retention
- Ginger essential oil — Promotes thermogenesis and improves circulation in targeted areas
- Grapefruit essential oil — Contains nootkatone, which activates AMPK, a fat-burning enzyme
- Coconut oil — Deeply moisturizing carrier that also has anti-inflammatory properties
- Shea butter — Rich in fatty acids that support skin elasticity and firmness
- Coffee grounds — Mechanical exfoliation paired with caffeine delivery — a dual-action powerhouse
- Cayenne pepper / capsaicin — Increases local blood flow through a mild thermogenic effect
Ingredients to Avoid in DIY Recipes
Some commonly suggested DIY ingredients can do more harm than good. Undiluted essential oils applied directly to skin can cause chemical burns and sensitization — always dilute in a carrier oil at no more than 2-3% concentration. Avoid using lemon or other citrus oils if you’ll be exposing the area to sunlight, as they are photosensitizing and can cause dark spots. Harsh astringents like straight apple cider vinegar can disrupt the skin’s pH barrier when used undiluted, leading to irritation that counteracts any sculpting benefit.

The Best DIY Body Sculpting Cream Recipes
These recipes are formulated to maximize ingredient synergy. Each one targets a specific concern — firming, cellulite reduction, or deep exfoliation — and can be made with ingredients available at most health food stores or online.
Store all creams in airtight glass jars, keep them away from direct sunlight, and use within two to three weeks unless refrigerated. Always patch test on a small area of skin before full application, particularly if you have sensitive skin.
Caffeine and Coconut Oil Firming Cream
This is the workhorse of DIY sculpting creams. Combine ¼ cup of finely ground coffee (the caffeine source), ¼ cup of melted coconut oil, and 2 tablespoons of shea butter. For an added circulation boost, mix in 5 drops of ginger essential oil. Melt the shea butter and coconut oil together, stir in the coffee grounds once slightly cooled, then add the essential oil. Apply to target areas using firm circular massage motions for five minutes before showering.
The caffeine absorbs through the skin while the massage action stimulates lymphatic drainage simultaneously. This double action is what makes this particular recipe consistently effective for people targeting thighs, abdomen, and upper arms.
Grapefruit and Ginger Cellulite Cream
This blend specifically targets the dimpled appearance of cellulite by addressing both circulation and fluid retention. Mix ½ cup of shea butter with 1 tablespoon of sweet almond oil, 8 drops of grapefruit essential oil, and 5 drops of ginger essential oil. Whip together with a hand mixer until light and fluffy for easier application. The nootkatone in grapefruit essential oil activates the AMPK enzyme pathway, while ginger drives localized thermogenesis — together they create a noticeable warming sensation that signals increased blood flow to the area.
Apply after a warm shower when pores are open and skin absorption is at its peak. Massage in using upward strokes toward the heart to support lymphatic flow. If you’re looking to understand more about how lymphatic support contributes to body contouring results, the article Lymphatic Drainage Massage Benefits and Considerations: Is It Right for You? breaks down the science in practical detail.
Consistent use three to four times per week, paired with adequate hydration, typically produces visible smoothing of the skin texture within three to four weeks.
Coffee Grounds and Shea Butter Body Scrub Cream
This hybrid scrub-cream does double duty — the coarse coffee grounds mechanically break up the fibrous bands under the skin that cause cellulite’s orange peel appearance, while simultaneously delivering caffeine through direct skin contact. Mix ½ cup of coarse coffee grounds with ¼ cup of melted shea butter, 1 tablespoon of coconut oil, and 4 drops of grapefruit essential oil. The consistency should be thick and grainy — not runny.
Apply in the shower to damp skin, scrubbing in firm circular motions for three to five minutes before rinsing. Because this formula exfoliates the skin surface, it also enhances the absorption of any cream applied afterward — making it the perfect first step before applying the caffeine firming cream on alternating days.
How to Apply DIY Body Sculpting Cream for Maximum Results
Application technique is where most people leave results on the table. Rubbing a cream on and walking away is the least effective way to use a body sculpting blend. The massage process itself is responsible for a significant portion of the results — it stimulates blood flow, breaks up fascial adhesions that cause cellulite, and activates the lymphatic system to flush out metabolic waste. The cream is the vehicle; the massage is the engine.
Before applying any sculpting cream, make sure the skin is clean and slightly warm — post-shower is ideal. Warm skin has dilated pores and increased surface blood flow, which dramatically improves ingredient absorption. Apply a generous amount of cream to the target area and begin massage immediately while the cream is still wet on the skin. For more tips on enhancing your body contouring results, consider these exercise and nutrition strategies.
The Right Technique: Massage Motions That Boost Lymphatic Drainage
Lymphatic drainage massage is not the same as a regular rubdown. The lymphatic system sits just beneath the skin and responds to light-to-medium pressure applied in specific directions. For body sculpting purposes, all strokes should move toward the heart — upward on the legs, inward on the arms, and upward on the abdomen. This directional pressure helps move stagnant lymph fluid and reduce puffiness that can mask muscle definition underneath.
Use the flat of your palm and fingers rather than your fingertips for broad areas like the thighs and abdomen. For smaller areas or more targeted work — like around the knees or upper arms — use your fingers in firm circular motions. Alternate between circular motions to break up adhesions and long sweeping strokes to move fluid toward lymph nodes in the groin, armpits, and behind the knees.
Spend a minimum of five minutes per area for the massage to produce a meaningful circulatory effect. Less than that and you are mostly just applying cream. Five to ten minutes of consistent, intentional massage per zone is the sweet spot for most people.
- Start with light pressure to warm up the tissue, then gradually increase
- Use upward, heart-directed strokes for all limbs
- Apply circular kneading motions over cellulite-prone areas for 60 to 90 seconds
- Finish each zone with long sweeping strokes toward the nearest lymph node cluster
- Never massage broken, irritated, or sunburned skin
A gua sha tool or a body massage roller can amplify the effect of manual massage, particularly for the thighs and abdomen. These tools apply consistent, even pressure and can help break up the fibrous connective tissue bands that pull skin downward and create the dimpled appearance of cellulite.
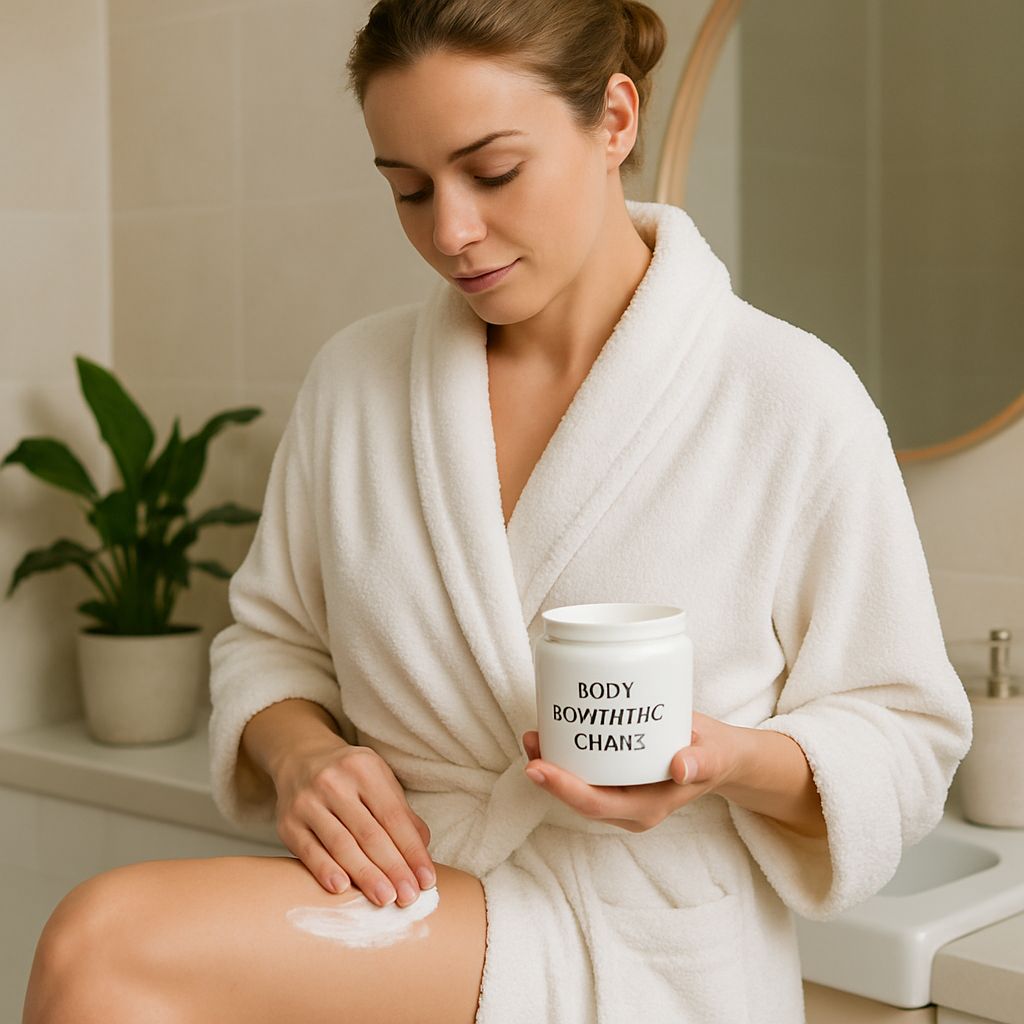
Best Time of Day to Apply Sculpting Cream
Morning application before exercise is the most effective timing strategy. Applying your DIY sculpting cream 15 to 20 minutes before a workout means that by the time you begin moving, the active ingredients — particularly caffeine and ginger — are already increasing localized circulation. Your workout then amplifies that effect by driving more blood flow to the targeted muscles and surrounding tissue. The combination creates a synergistic window where fat mobilization and ingredient activity peak simultaneously.
How Often You Should Apply It
Daily application produces the fastest results, with five to seven applications per week being the optimal frequency for most people. If your skin becomes irritated — which can happen with recipes containing cayenne or high concentrations of essential oils — scale back to every other day and ensure your dilution ratios are correct. Consistency over weeks matters far more than intensity on any single day. Missing one application will not derail your progress, but missing two weeks will.

Exercise Techniques That Supercharge Your Sculpting Cream Results
Exercise does not just burn calories — it fundamentally changes the tissue environment that your sculpting cream is working within. Increased circulation from exercise means more of your cream’s active compounds reach their target tissue. Muscle development from strength training literally reshapes the body from beneath the skin, making whatever surface-level tightening the cream provides far more visible.
The most effective exercise strategy for DIY sculpting cream users is a layered approach: strength training to build the muscle that creates definition, HIIT to accelerate fat loss, and low-impact cardio to support lymphatic flow on recovery days. Each type of exercise contributes something the others cannot. Together they create a comprehensive physical environment where your natural sculpting routine can deliver its best results. If you want to understand how professional body contouring treatments maintain long-term outcomes, How To Maintain Cryolipolysis Results: Tips and Methods offers excellent parallel strategies that apply just as well to natural approaches.
Strength Training Moves That Target Problem Areas
Strength training is non-negotiable if visible body sculpting results are the goal. Muscle tissue is denser than fat, takes up less space, and creates the toned, defined appearance most people are after. Building muscle in a target area also increases the metabolic rate of that tissue, meaning your body burns more energy there even at rest. Apply your sculpting cream before a strength session and the circulatory boost from both the ingredients and the exercise compounds the effect.
For the most common problem areas, focus on these compound and isolation movements:
- Thighs and glutes: Squats, Romanian deadlifts, hip thrusts, reverse lunges
- Abdomen: Planks, dead bugs, cable crunches, hanging knee raises
- Upper arms: Tricep dips, skull crushers, bicep curls, push-ups
- Back and flanks: Dumbbell rows, lat pulldowns, side bends with resistance
HIIT Workouts That Accelerate Fat Cell Removal
High-Intensity Interval Training creates something called excess post-exercise oxygen consumption (EPOC) — the elevated metabolic rate that continues for hours after the workout ends. This extended burn period is where HIIT earns its reputation for accelerating fat loss beyond what the workout itself accounts for. For DIY sculpting cream users, this means that applying cream before a HIIT session extends the window of heightened circulation and fat mobilization well into recovery.
A HIIT session does not need to be long to be effective. Twenty to thirty minutes of alternating high-effort and low-effort intervals, three times per week, is sufficient to produce meaningful metabolic changes. The key is that the high-effort intervals genuinely push output to near-maximum — holding back defeats the purpose of the training method.
Effective HIIT formats for body sculpting include sprint intervals, kettlebell circuits, jump squat and push-up combinations, and cycling intervals. Pair whichever format you prefer with your DIY cream application routine and you have a genuinely powerful natural fat-loss protocol.
Sample 20-Minute HIIT Circuit (3x per week):
• Jump squats — 40 seconds on, 20 seconds rest
• Push-ups — 40 seconds on, 20 seconds rest
• High knees — 40 seconds on, 20 seconds rest
• Alternating reverse lunges — 40 seconds on, 20 seconds rest
• Mountain climbers — 40 seconds on, 20 seconds rest
• Rest 90 seconds between rounds — complete 3 to 4 rounds total
Low-Impact Cardio That Supports Lymphatic Flow
The lymphatic system has no pump of its own — it relies entirely on muscle movement and breathing to circulate fluid. Low-impact cardio like walking, swimming, and cycling creates the steady, rhythmic muscle contractions that keep lymph moving efficiently. On days between HIIT and strength sessions, a 30 to 45-minute low-impact cardio session keeps the lymphatic system active and prevents the fluid stagnation that contributes to puffiness and the appearance of cellulite.
- Walking: Particularly effective — the heel-to-toe motion activates calf muscles that act as a secondary lymphatic pump for the lower body
- Swimming: The hydrostatic pressure of water plus full-body movement creates exceptional lymphatic stimulation
- Cycling: Low joint impact with consistent rhythmic leg contractions — ideal for targeting thigh and glute tissue
- Rebounding (mini trampoline): The vertical acceleration and deceleration is uniquely effective at stimulating lymphatic flow throughout the entire body
- Yoga: Inversions and twisting poses actively compress and release lymph nodes, flushing stagnant fluid
Rebounding deserves special mention because it is one of the most underrated tools in a natural body sculpting routine. Even 10 minutes of gentle bouncing on a mini trampoline creates enough gravitational force variation to stimulate lymphatic valves throughout the body. Applied after your sculpting cream massage, it extends the drainage effect significantly.
The goal on low-impact days is not to exhaust yourself — it is to keep the body’s fluid systems moving. Think of these sessions as active recovery that simultaneously supports your sculpting goals.
Core Exercises That Define Your Midsection
Abdominal definition is one of the most requested outcomes from body sculpting routines. The reality is that core exercises build the muscle underneath, while your DIY cream and nutrition habits reduce the fat and fluid on top. Both sides of that equation need to be addressed simultaneously for the midsection to look defined rather than just slightly smaller.
The most effective core exercises go beyond basic crunches. The transverse abdominis — the deepest abdominal muscle — is responsible for the flat, pulled-in look that most people want. This muscle is best activated through exercises like dead bugs, Pallof presses, hollow body holds, and breathing exercises like diaphragmatic breathing with bracing. These movements train the core to stay tight and pulled in as a default position, which changes posture and the appearance of the midsection even at rest.
Apply your caffeine-based sculpting cream to the abdomen before core training sessions. The increased localized circulation during the workout period means active ingredients are working in an already-stimulated tissue environment, maximizing their effectiveness. Pair this with the grapefruit and ginger cream on non-training days for continuous active support.
Recommended Weekly Core Training Plan:
Monday / Thursday: Dead bugs (3 sets x 10 reps), Hollow body hold (3 x 20 seconds), Pallof press (3 x 12 each side)
Tuesday / Friday: Plank variations (3 x 30–60 seconds), Cable crunches (3 x 15), Hanging knee raises (3 x 12)
Wednesday / Saturday: Diaphragmatic breathing with bracing (5 minutes), Bird-dog (3 x 10 each side), Side plank (3 x 20 seconds each side)
Rotate through both workout types throughout the week to ensure the full range of abdominal muscles is being trained, not just the superficial rectus abdominis that creates the six-pack appearance but does little for overall midsection tightness.
Nutrition Tips That Lock In Your Body Sculpting Results
Quick Nutrition Reference for Body Sculpting:
• Daily protein target: 0.7 to 1.0 grams per pound of bodyweight
• Hydration minimum: 2.5 to 3 liters of water per day
• Anti-inflammatory foods: Prioritize daily
• Sodium: Keep under 2,300mg per day to minimize fluid retention
• Meal timing: Protein within 30 minutes post-workout for muscle repair
• Foods to limit: Processed sugar, alcohol, refined carbohydrates, excess dairy
No DIY body sculpting cream, regardless of how well-formulated it is, can outperform a poor diet. Nutrition is the foundation that either supports or undermines everything else in your routine. The goal is not a restrictive diet — it is a strategic one that actively supports fat loss, muscle repair, reduced inflammation, and minimized water retention. These four nutritional targets align directly with what your sculpting cream and exercise routine are working to achieve at the tissue level.
Hydration is the most underrated nutritional factor in body sculpting results. The lymphatic system requires adequate fluid volume to function efficiently — dehydration literally thickens lymph fluid and slows drainage, which counteracts the massage and exercise work you are putting in. Aim for a minimum of 2.5 to 3 liters of water daily, and consider adding electrolytes if you are sweating heavily during workouts. Supporting your hydration with something like Cardio Slim Tea can complement your fluid intake while providing additional herbal support for circulation and metabolism.
Reducing sodium intake is also a quick win for visible results. High sodium causes the body to retain water subcutaneously — directly beneath the skin — which creates a puffy, undefined appearance that no amount of cream or exercise will overcome while the retention is active. Keeping daily sodium under 2,300mg dramatically reduces this effect within two to three days, often producing a noticeably leaner appearance quickly.
Proteins That Support Muscle Repair and Fat Loss
Protein is the macronutrient most directly tied to the muscle-building side of body sculpting. Without adequate protein, the strength training you are doing to create definition cannot produce results — the body simply does not have the raw material to build and repair muscle tissue. Protein also has the highest thermic effect of any macronutrient, meaning the body burns more calories digesting it than it does processing carbohydrates or fats.
The target for active individuals engaged in a body sculpting routine is 0.7 to 1.0 grams of protein per pound of bodyweight per day. For a 150-pound person, that means 105 to 150 grams of protein daily — a target that requires intentional food choices rather than hoping it happens by default. Spreading protein intake across three to four meals maximizes muscle protein synthesis throughout the day.
Adding a 21-Day Smoothie Diet Weight Loss Program is an excellent way to hit daily protein and nutrient targets consistently without the complexity of meal planning from scratch, especially when combined with your natural sculpting routine. For more tips on enhancing your routine, consider reading about exercise and nutrition strategies.
- Chicken breast — 31g protein per 100g, lean and versatile
- Greek yogurt — 17g per 100g, plus gut-supporting probiotics
- Eggs — Complete amino acid profile, high in leucine which directly triggers muscle synthesis
- Lentils — 18g per cooked cup, plus fiber that supports gut health and reduces bloating
- Salmon — High protein plus omega-3 fatty acids that actively reduce inflammation
- Edamame — 17g per cup, one of the best plant-based complete proteins available
Foods That Fight Inflammation and Bloating
Chronic low-grade inflammation is one of the primary reasons body sculpting results stall or remain invisible even when someone is doing everything else right. Inflammation causes tissues to retain fluid, promotes fat storage — particularly visceral fat — and impairs the lymphatic function your massage routine is working to enhance. Addressing inflammation through diet is not optional if visible results are the goal.
The most powerful anti-inflammatory foods are those rich in omega-3 fatty acids, polyphenols, and antioxidants. These compounds actively reduce the inflammatory signaling molecules that drive tissue swelling and fluid retention. Making them a consistent part of your daily diet creates a tissue environment that is receptive to the changes your sculpting routine is driving.
Bloating specifically — which can add one to three inches of apparent circumference to the abdomen — is often driven by food sensitivities, excess sodium, insufficient fiber, or an imbalanced gut microbiome. Identifying and eliminating your personal bloating triggers while adding gut-supportive foods can produce faster visible results than almost any other single dietary change.
Fermented foods like kefir, sauerkraut, and kimchi feed beneficial gut bacteria that regulate inflammation, digestion, and even hormone balance — all of which influence how and where the body stores fat. Adding even one serving of fermented food daily has measurable effects on gut diversity within two weeks.
- Turmeric — Contains curcumin, one of the most studied natural anti-inflammatory compounds
- Blueberries — High in anthocyanins that reduce oxidative stress and inflammation
- Ginger — Both topically and internally, ginger reduces inflammatory markers and supports digestion
- Leafy greens — Spinach, kale, and arugula provide magnesium and folate that regulate inflammatory pathways
- Avocado — Rich in oleic acid and potassium, which counteract sodium-driven water retention
- Green tea — EGCG catechins reduce inflammation while mildly boosting metabolic rate
- Pineapple — Contains bromelain, an enzyme with potent anti-inflammatory and digestive properties
How to Track Your DIY Body Sculpting Progress
Tracking progress accurately is what separates people who stay motivated through the full process from those who quit at week three because they “don’t see anything happening.” The problem is that most people track the wrong thing — they step on a scale, see minimal movement, and conclude the routine isn’t working. But body sculpting is about changing shape, not necessarily losing weight. Muscle gain and fat loss can occur simultaneously, producing dramatic visual changes while the scale barely moves.
The most reliable tracking methods for a DIY body sculpting routine are body measurements, progress photos, and how clothing fits. Take measurements with a soft tape measure at the same points weekly — upper arms, bust, waist, hips, and mid-thigh. Log these numbers consistently. Progress photos taken in the same lighting, same location, and same body position every one to two weeks will reveal changes that are completely invisible day-to-day but dramatic when compared across a month. These two methods combined give you an accurate, honest picture of what your routine is actually producing.
Skin texture is another meaningful tracking metric that most people overlook. Run your hand over your target areas every week and notice changes in smoothness, firmness, and the depth of cellulite dimpling. These tactile changes often appear before visual ones and are a direct signal that your cream and massage routine is producing real biological change in the tissue. Keeping a brief weekly log — even just three sentences — of how the skin feels, how measurements changed, and how energy levels and workout performance are progressing gives you objective data to work from rather than guesswork.

Common Mistakes That Kill Your Results
The gap between people who get visible DIY sculpting results and those who don’t almost always comes down to a small number of consistent mistakes — not ingredient quality, not genetics, and not the specific recipe used. Knowing these pitfalls in advance is the most efficient shortcut to results that actually materialize.
Applying Cream Without Massage Technique
Spreading cream over an area and leaving it is essentially just moisturizing. The active ingredients in a sculpting cream — caffeine, ginger, grapefruit — need mechanical stimulation to reach their target tissue at a meaningful depth and concentration. Without the massage component, you are getting perhaps 20% of the potential benefit from the same cream. Think of the massage as the delivery mechanism and the cream as the payload. One without the other dramatically underperforms.
Skipping Exercise Consistency
Sporadic exercise produces sporadic results. Three workouts one week followed by none the next does not accumulate into meaningful body composition change — it simply maintains the status quo with extra effort. Consistency at a moderate level will always outperform intensity at an irregular one. Four consistent workouts per week for eight weeks will produce significantly more visible sculpting results than eight intense workouts per week for three weeks followed by burnout and nothing.
The most effective strategy for maintaining exercise consistency is to schedule sessions in advance, keep them at a manageable duration — 30 to 45 minutes is sufficient — and tie your cream application routine to the workout as a habit trigger. Apply cream, workout, done. The linked habit makes skipping either one feel incomplete, which psychologically reinforces both behaviors. For those who want pharmaceutical support alongside a natural lifestyle approach, a Telehealth GLP-1 Weight Loss Prescription can be explored as a complementary option under medical supervision. Additionally, learning exercise tips after body sculpting can further enhance your routine.
Unrealistic Expectations About Timeline
Expecting dramatic results in two weeks is the fastest route to abandoning a routine that would have worked at week six. DIY body sculpting is a cumulative process — results build slowly and then appear to accelerate as multiple changes compound simultaneously. The people who see the best outcomes are those who commit to a minimum of eight to twelve weeks before making any judgment about whether the approach is working. Anything before that is simply not enough time for the biological changes happening at the tissue level to become visually apparent.
Real Results Take Time — Here Is What a Realistic Timeline Looks Like
Setting accurate expectations is not about lowering ambition — it is about sustaining motivation long enough for real change to occur. Here is what a well-executed DIY body sculpting routine realistically produces over time, assuming daily cream application with massage, consistent exercise four to five days per week, and anti-inflammatory nutrition:
- Week 1 to 2: Skin feels smoother and more hydrated, mild reduction in puffiness, improved skin tone in target areas — no dramatic visual change yet
- Week 3 to 4: Noticeable reduction in cellulite appearance, measurable reduction in circumference measurements of 0.5 to 1.5 inches in target areas, clothing begins to fit differently
- Week 5 to 6: Visible skin firming and tightening, muscle definition beginning to emerge as fat layer reduces, significant improvement in skin texture
- Week 7 to 8: Cumulative changes become clearly visible in progress photos, most people reach their first significant milestone at this point
- Week 9 to 12: Full compounding effect of cream, exercise, and nutrition producing peak visible results — this is when most people describe feeling and looking dramatically different
These milestones assume the full routine is being followed — cream plus massage, targeted exercise, and nutrition support working together. Doing one or two of the three will produce slower, less dramatic results but will still produce results over time.
It is also worth noting that results are not linear. There will be weeks where measurements barely change followed by weeks where they drop noticeably. This is normal biology, not a sign that the routine has stopped working. Water retention fluctuations, hormonal cycles, and changes in workout intensity all influence short-term measurements without reflecting what is actually happening at the deeper tissue level.
For those who want to accelerate results beyond what a natural DIY routine alone can produce, options like Natural GLP-1 Enhancement Without Needles, Prescriptions Or Side Effects offer a non-invasive way to support the body’s fat-regulation systems naturally, without compromising the holistic approach that makes a DIY routine so appealing in the first place.
Staying in the routine through the plateaus — and trusting the cumulative process — is the single most important factor in reaching the visible results that are absolutely achievable with this approach.

Frequently Asked Questions
These are the questions that come up most often from people starting a DIY body sculpting cream routine, answered directly and honestly based on what the science and practical experience both support.
Can DIY Body Sculpting Creams Replace Professional Treatments?
DIY body sculpting creams are not a direct replacement for professional treatments like cryolipolysis, laser lipolysis, or ultrasound cavitation. Professional treatments work at a fundamentally different biological level — they physically destroy or freeze fat cells, which the body then eliminates over several weeks. A DIY cream cannot replicate this mechanism regardless of how well it is formulated.
What DIY creams can do is deliver meaningful results for people who are not candidates for professional treatments, cannot access them, or prefer a completely natural approach. For mild to moderate concerns — cellulite, general skin laxity, early-stage fat accumulation in specific areas — a well-executed DIY routine often produces results that compare favorably to entry-level professional treatments, particularly when the exercise and nutrition components are strong.
The most practical approach is to view them as complementary rather than competitive. Professional treatments address stubborn or established fat deposits most efficiently, while DIY creams and lifestyle habits maintain and enhance those results over time. If you have had a professional body contouring treatment and want to preserve and build on those outcomes, a DIY sculpting cream routine is one of the most effective maintenance strategies available, alongside the lifestyle practices outlined in resources covering how to maintain body contouring results long-term.
- DIY creams work well for: mild cellulite, skin firming, general toning, maintenance after professional treatments
- Professional treatments work better for: stubborn localized fat that doesn’t respond to diet and exercise, significant skin laxity, faster results on a defined timeline
- Best combined approach: Professional treatment to address established fat deposits, DIY cream routine to maintain and enhance results afterward
- For those exploring options between DIY and full professional treatment, Tirzepatide and Semaglutide represent medically supervised pharmaceutical options that work at the metabolic level to support significant fat loss
How Long Does It Take to See Results from DIY Body Sculpting Cream?
Most people notice the first tangible changes — smoother skin texture and reduced puffiness — within one to two weeks of consistent daily use. These early changes are primarily driven by improved circulation, lymphatic drainage, and skin hydration rather than actual fat reduction. They are real and measurable, but they are the beginning of the process, not the full result.
Meaningful body composition changes — visible reduction in cellulite, measurable circumference loss, and noticeable skin firming — typically emerge between weeks four and six with a complete routine. The full compounding effect of cream, exercise, and nutrition working together for eight to twelve weeks produces the most significant and lasting transformation. Patience through the early weeks is the most valuable investment you can make in the outcome. For more insights, consider reading about enhancing body contouring results with exercise and nutrition.
Which Exercises Work Best Alongside Body Sculpting Creams?
The most effective exercise combination for amplifying DIY sculpting cream results is strength training paired with HIIT, supplemented by low-impact cardio on recovery days. Strength training builds the muscle definition that becomes visible as the fat layer reduces. HIIT drives the metabolic rate elevation that accelerates fat loss beyond what steady-state cardio alone can achieve. Low-impact cardio — particularly walking and rebounding — keeps lymphatic flow active on rest days, ensuring the drainage work from your massage routine continues between sessions.
For specific target areas, compound movements consistently outperform isolation exercises. Squats, deadlifts, and hip thrusts activate multiple muscle groups in the lower body simultaneously, producing greater metabolic demand and more comprehensive tissue change than leg curls or leg extensions alone. Similarly, rows and pull-downs create more total upper body muscle stimulus than isolated arm exercises, even if the goal is specifically to address upper arm appearance.
Apply your DIY sculpting cream to target areas 15 to 20 minutes before training for the strongest synergistic effect. The pre-workout application means active ingredients like caffeine and ginger are already elevating local circulation at the exact moment your workout is creating peak blood flow to those muscles. This timing approach consistently produces faster visible results than post-workout application for the same effort invested.
Are DIY Body Sculpting Creams Safe for All Skin Types?
Most well-formulated DIY sculpting creams are safe for normal, dry, combination, and oily skin types when essential oils are properly diluted and ingredients are patch-tested before full application. Sensitive skin types need to approach these recipes with more caution — ingredients like cayenne, high concentrations of ginger essential oil, and coffee grounds can cause irritation, redness, or contact dermatitis in reactive skin. Starting with the mildest recipe — the caffeine and coconut oil firming cream without essential oils — is the safest entry point for sensitive skin.
People with eczema, psoriasis, active skin infections, or open wounds should avoid applying sculpting creams to affected areas entirely. Pregnant or breastfeeding individuals should consult a healthcare provider before using any essential oil-containing formula, as certain oils — particularly grapefruit and ginger in high concentrations — are contraindicated during pregnancy. When in doubt, a patch test on a small, inconspicuous area of skin for 24 hours before full application will identify any adverse reactions before they become a problem.
How Do I Know If My DIY Body Sculpting Cream Is Working?
The first sign your cream is working is a change in skin texture — it will feel smoother, firmer, and less dimpled to the touch within the first two weeks. This tactile improvement precedes visible changes and is a reliable early indicator that circulation and lymphatic drainage are responding to the routine. If you notice a mild warming sensation during application — particularly with ginger or caffeine-heavy recipes — that is the thermogenic and circulatory response working as intended.
By weeks three to four, you should be seeing measurable changes in your body tape measurements — typically a reduction of half an inch to one inch in the primary target area. Progress photos compared side by side from week one and week four will often show differences in skin tone, surface texture, and the prominence of cellulite that are not visible day-to-day but are clear in photographic comparison. These are strong confirmation signals that the routine is producing real biological change.
If you are not seeing any changes by week four with consistent daily application, reassess three things: the quality of your massage technique, whether you are hitting your protein and hydration targets, and whether your exercise sessions are genuinely challenging. In the vast majority of cases, a stalled result traces back to one of these three variables rather than an issue with the cream itself. Adjust, stay consistent, and give the routine the full eight to twelve week window to show you what it is capable of.